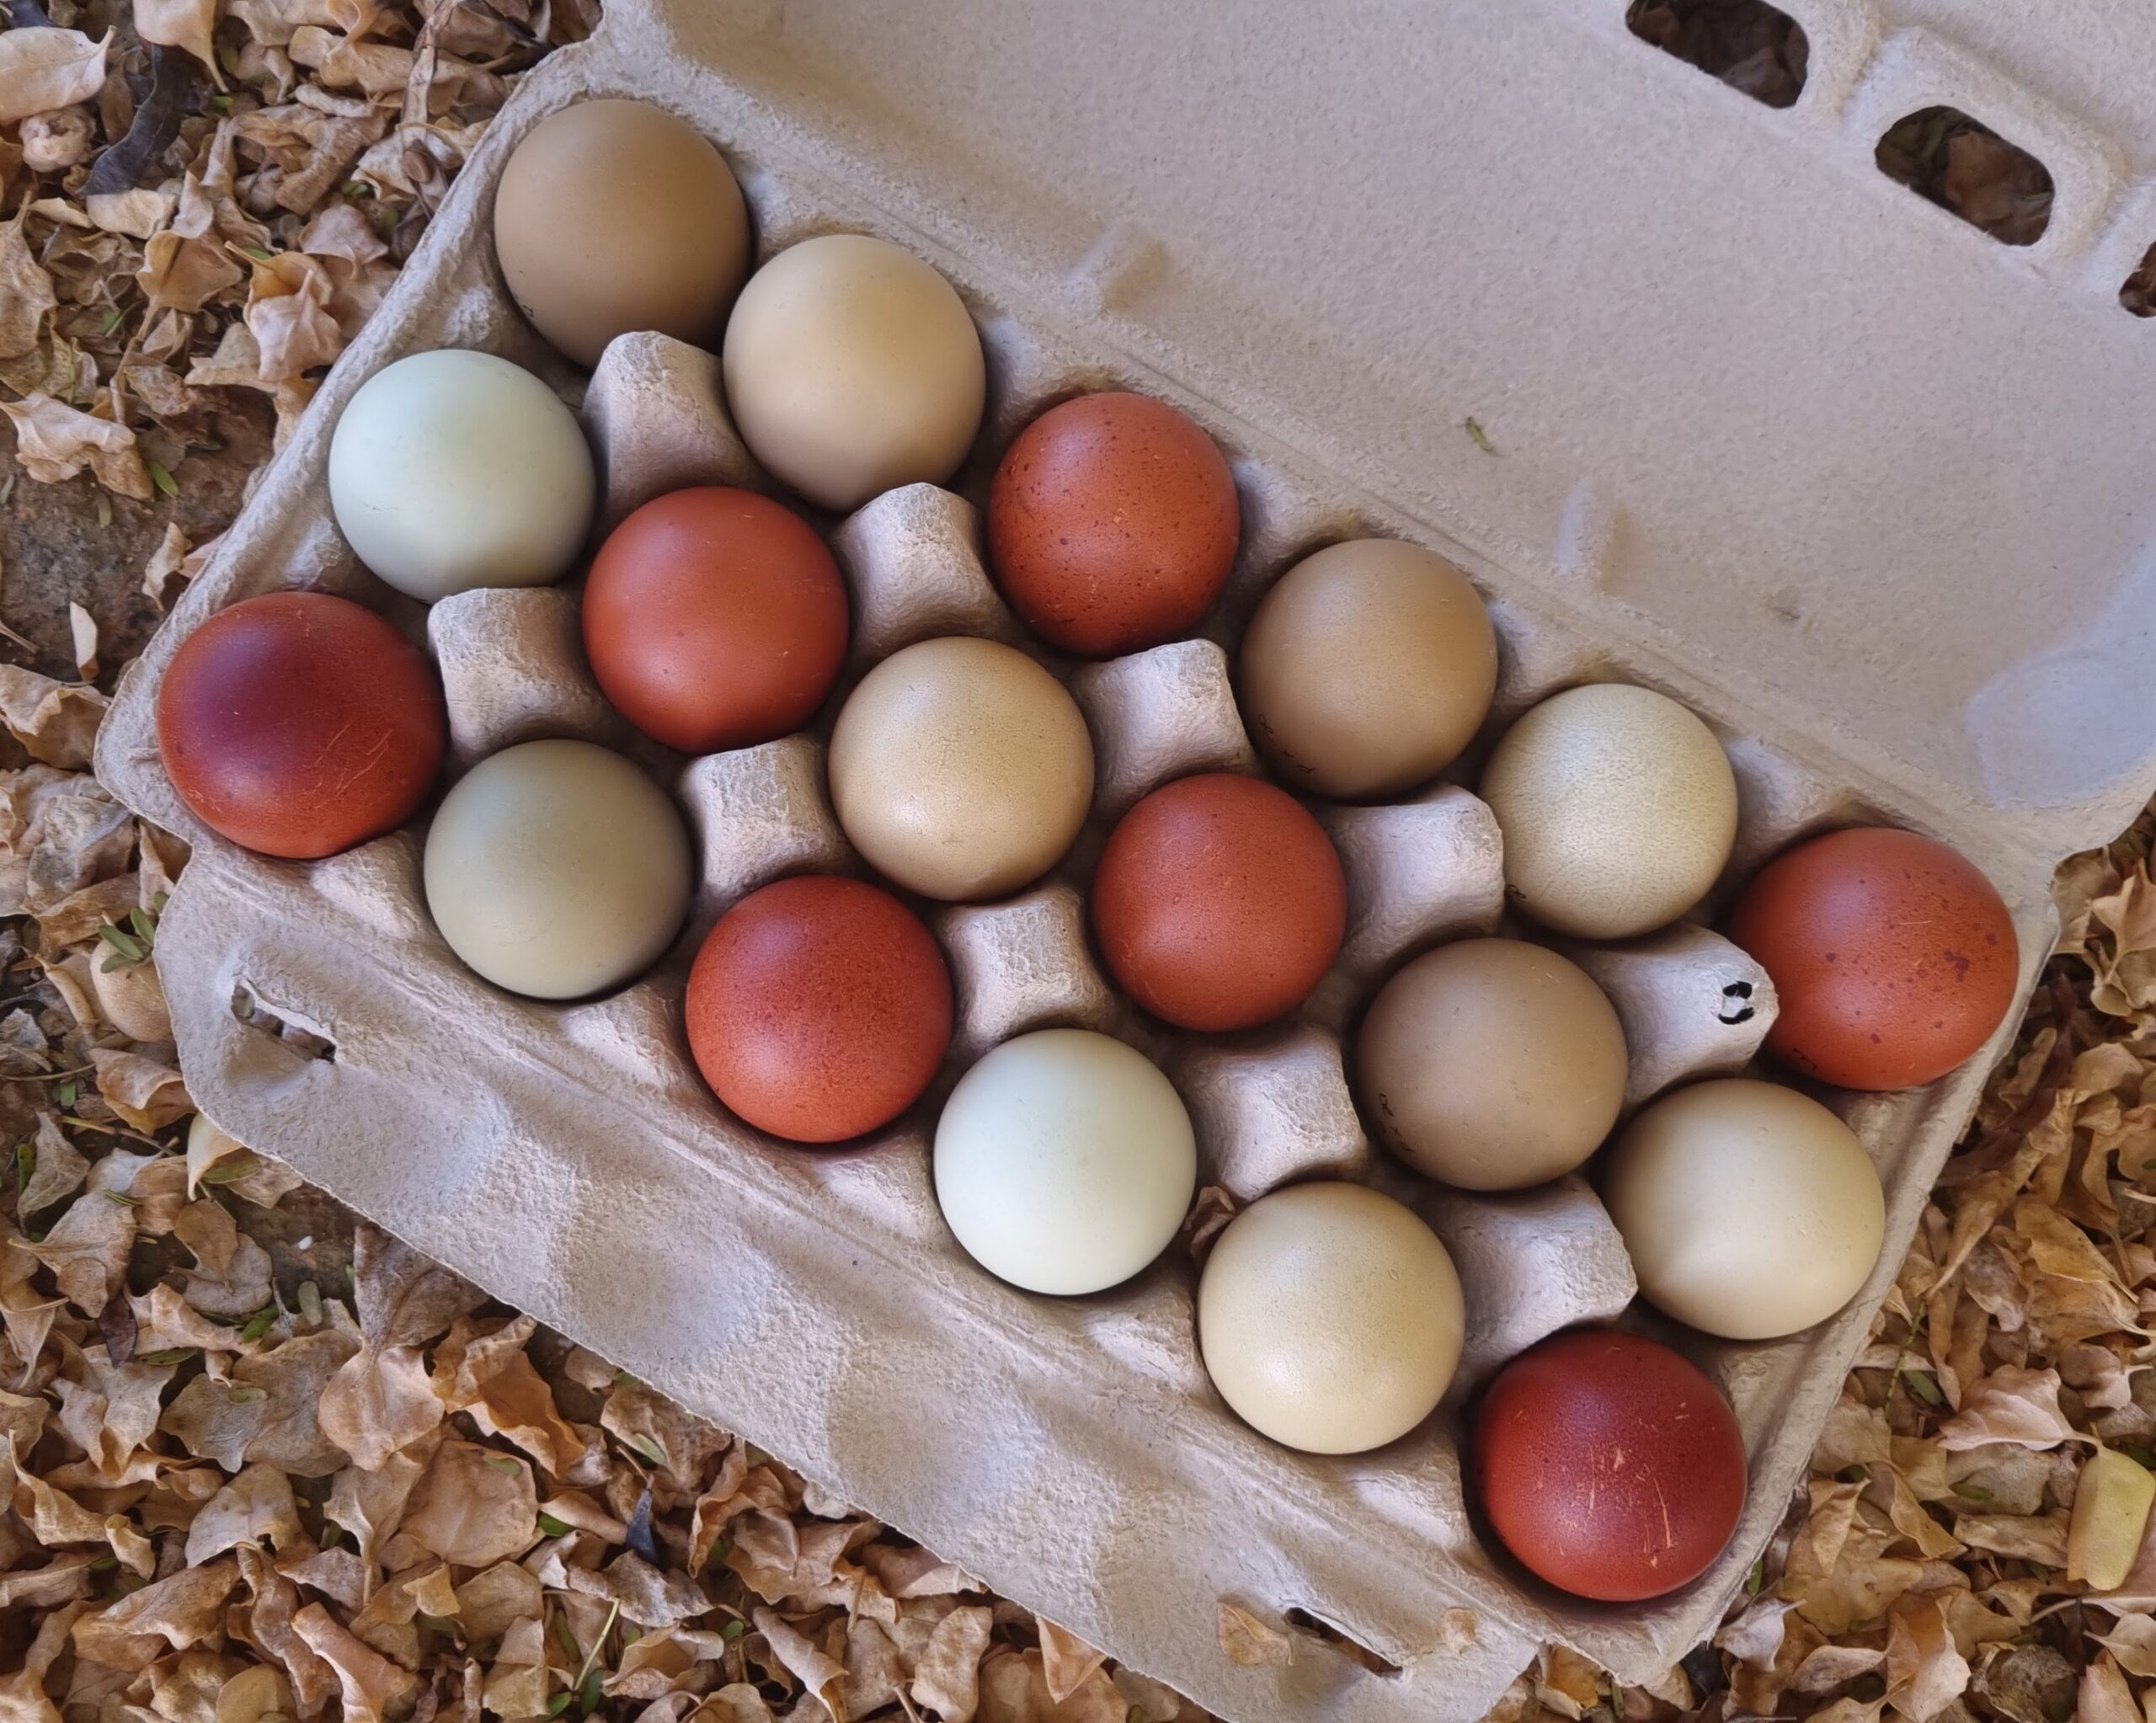
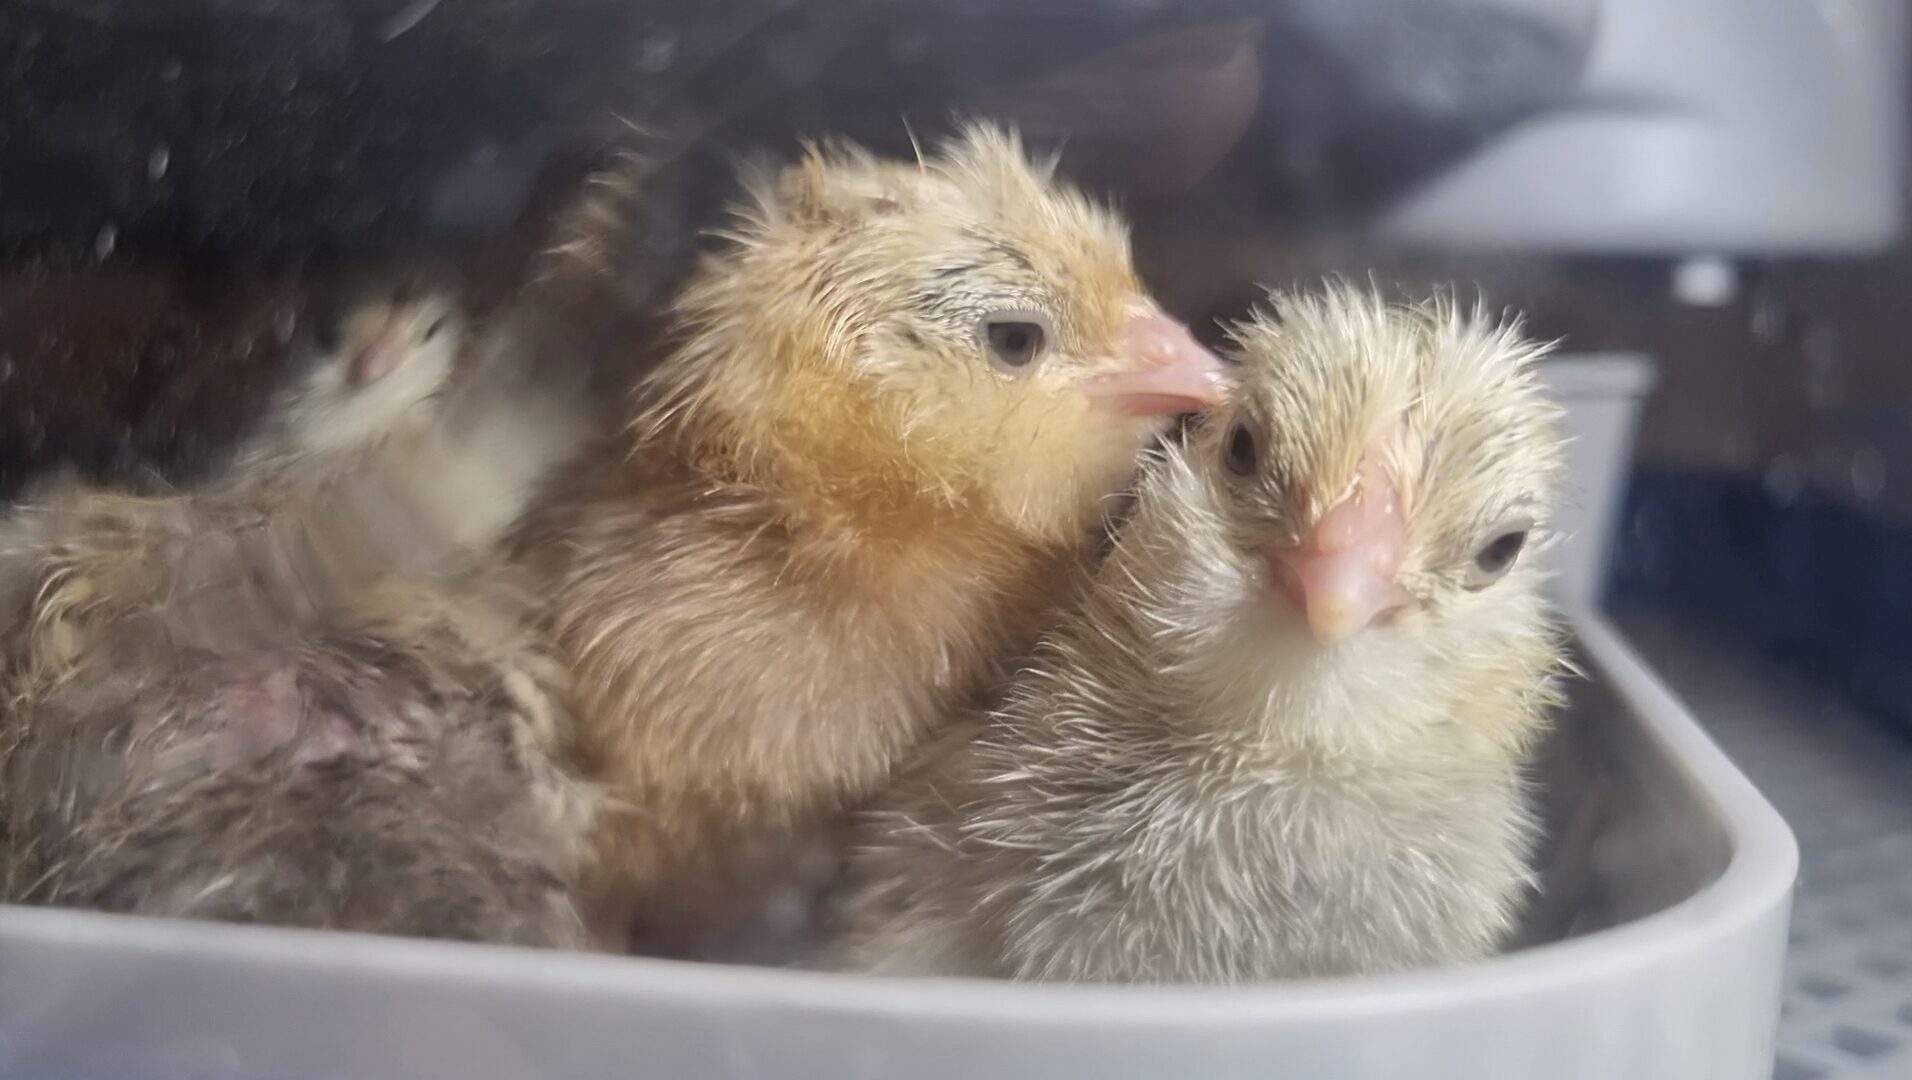
We have learned a lot since our first hatch, and would like to share it so that it hopefully benefits others. By no means is there one single right way, this is just how we have evolved to do it, and it works for us.
Collecting the eggs
We like to collect our hatching eggs twice a day, around lunch and late afternoon. It gets bumped to three times a day if it’s hot out. Our aim is to get the eggs indoors as soon as we can, so that the egg isn’t exposed to hot or cold temperatures for long.
Selecting the eggs
Hatching eggs should be well-sized, egg shaped, and clean.
The size of the egg
Over time you learn what to expect from a certain breed in your flock when it comes to egg size – any outliers (too small or too big) should not be incubated. For this reason we also wait for a good few months after a pullet (young hen) has started to lay before we begin incubating her eggs. Eggs that are too small are more likely to result in fragile chicks. Eggs that are too large could be a double-yolker, which is highly unlikely to hatch.
The shape of the egg
Sometimes, eggs can be too round or too elongated. The chick may struggle to position correctly in these eggs. That is why we keep them for eating eggs.
The cleanliness of the egg
Incubating filthy eggs can cause bacterial growth during incubation, which can risk the health of the developing embryos or chicks. A little speck here or there won’t do any harm, but eggs that are dirtier than that are not incubated. Do not wash the eggs. Regularly refreshing the nest, as well as collecting multiple times a day, helps keep the eggs nice and clean. We always sanitize our hands before handling hatching eggs.
Storing the eggs
Hatching eggs should be stored pointy end down, for a maximum of 7 days, out of direct sunlight at a temperature of 15-18 degrees Celcius and 75% humidity. These are ideals – it does not mean that if you venture outside of these constraints, your hatch is doomed to fail. But each point helps retain the viability of the egg and give you the best chance at a successful hatch.
Egg storage temperature: 15-18 °C
What you’re aiming for is to store the eggs at a temperature that is not so cold that it’ll hurt the viability of the egg, but also not so warm that the cell division starts prematurely. Some sources quote a temperature as low as 12 °C. Since we’re located in the Klein Karoo, our summers get very hot. That’s why we repurposed a second-hand wine fridge to be our egg fridge, which works fantastic in keeping our eggs in their own comfortable little bubble.
Egg storage humidity: 75%
You want to prevent the eggs from losing much moisture while in storage. Our wine/egg fridge helps with this, too. We sometimes keep shallow containers of water at the bottom of the fridge to help elevate the humidity.
Egg storage duration: 7 days
Ideally, store your eggs no longer than 7 days. However we have also had some successful hatches with eggs that were 7-10 days old, but the hatch rate will be lower.
Egg storage angle: 45°
Put something under the one end of your egg tray, so that the tray sits at approximately 45°. In the morning and in the evening, change which side of the tray is higher. This helps prevent the egg yolk from sticking. We made tray holders from steel wire for our egg fridge that maintain this angle.
Incubating the eggs
About the inaccuracy of incubator sensors
The best incubation advise we ever received was to not trust the display of the incubator, but instead purchase a reliable external thermometer/hygrometer (one that’s factory calibrated). We bought the Govee H5075 model on Amazon, as was recommended to us, and we have had 1 or 2 in each incubator ever since. The Govee quickly showed us that some of them were running hotter or colder than the display indicated, and the humidity was off, too. It works with bluetooth, so we connected them to our phones, and with a widget can see at any time what the temperature and humidity are at. Life saver!
Prepare the incubator and eggs
Let the incubator run for at least a day, so you can be sure all is well before adding your precious eggs. Let your eggs acclimatise at room temperature for 4-6 hours before adding them to the incubator, so that they warm up a bit more gently.
Incubator temperature: 37.5 °C
Assuming you have a forced air incubator, i.e. one with a fan, then 37.5 °C is the temperature it should be at. Most incubators are forced air ones.
Incubator humidity for the first 18 days: 45-55%
Humidity is a tool – the goal is for the eggs to lose the right amount of weight. If they lose too much, the chick can stick to the membrane. If they don’t lose enough, chicks will struggle to move in the correct position to hatch, or die because of the lack of oxygen. We like to hatch our large, thicker-shell eggs separately from our bantam eggs, as this allows us to tweak the humidity accordingly. For the Easter Eggers, Marans, and Barnevelders, we use 45%. And for the Polish, Silkies, and Barbu d’Uccles, we use 52%. We based this off tracking the weight of eggs during incubation, something we will write out in the future. The vents of our incubator are kept half-open during this phase.
Going into lockdown
After 18 days of incubation, it is time to go into “lockdown”. Take out the baskets or rollers, open the vents, and increase the humidity to 65-75% (20-25% higher than the first 18 days). Do not open the incubator during this time. A sudden drop in humidity will negatively affect the hatch.
We have found the bottom of our incubators to be rather slippery. This may be different for yours. To help the newly hatched chicks’ little feet grip better, we purchased plastic garden mesh and cut it to size. We found this helped prevent chicks slipping and getting splayed legs.
Hatch day
Your chicks should hatch after 21 days of incubation. Our experience is that bantams typically hatch a little sooner, from day 19. It takes a lot of energy to hatch out of an egg, so if you see a pip, and nothing happens for a while, don’t stress. Anything up to a day from the first pip to the chick hatching is normal. Some chicks may need a little longer than 21 days. We leave our machine running for 23. If a lot of chicks hatch sooner than expected, the incubator could be running a little hot; if they hatch late, the incubator could be running a little cold.
Taking chicks out of the incubator
Chicks can comfortably stay in the incubator for 2 days (some people even say 3, though we have personally never tried that). Please try to leave the incubator closed if others are actively hatching, to prevent a drop in humidity. Once the chicks are dry and fluffy, you can take them out to move to their brooder.
Enjoy being a mom or dad to your new baby chicks. Even though we’ve hatched hundreds, the feeling never gets old (and is quite addictive).